BIAB Brew Day
These are the updated instructions (as of 2019) for one 5 gallon batch using a single electric pot with the no sparge/full volume brew in a bag (BIAB) technique. I use a converted commercial 15 gallon keg with a 5500 watt element and a home made PWM (pulse width modulator) controller.
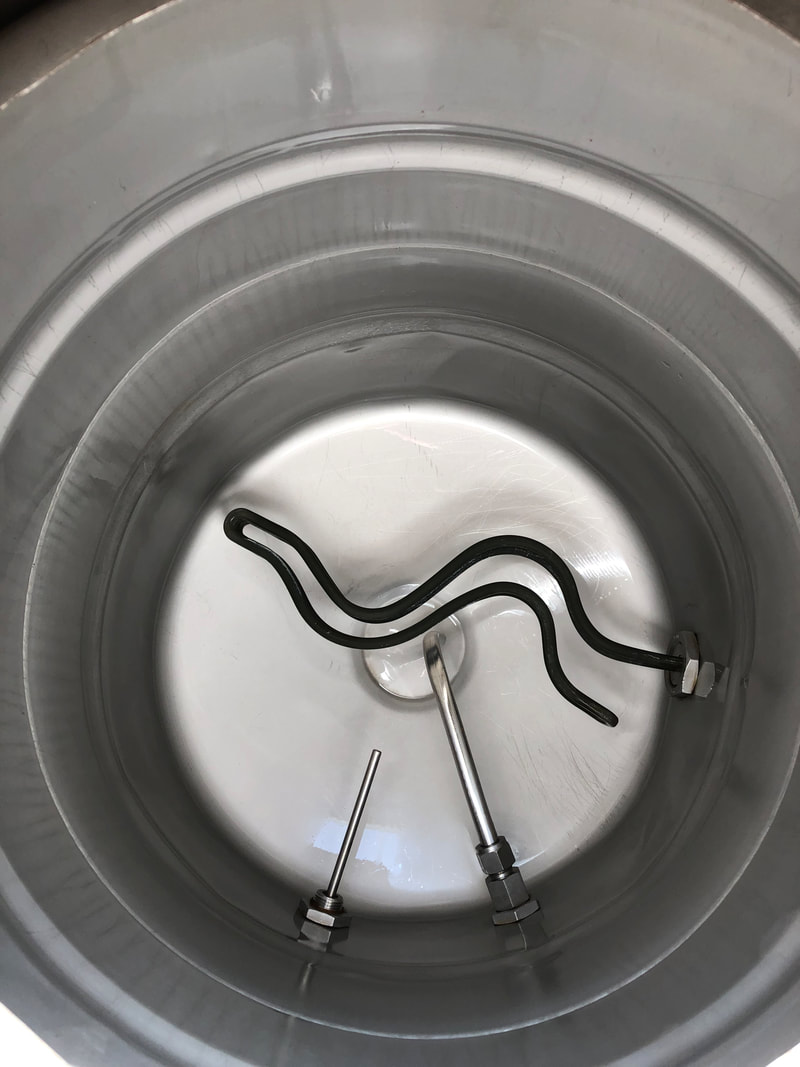
View inside my pot. Element, dip tube, temperature probe/sight glass port.
Time to mill, mine is set to ~0.035" or the thickness of a credit card. I use a three roller mill mounted in my brew bench with a hammer drill on a switch permanently connected to get enough torque. Should only take a few minutes and I like to do it right before brewing the same as I would grind coffee fresh before brewing a pot.
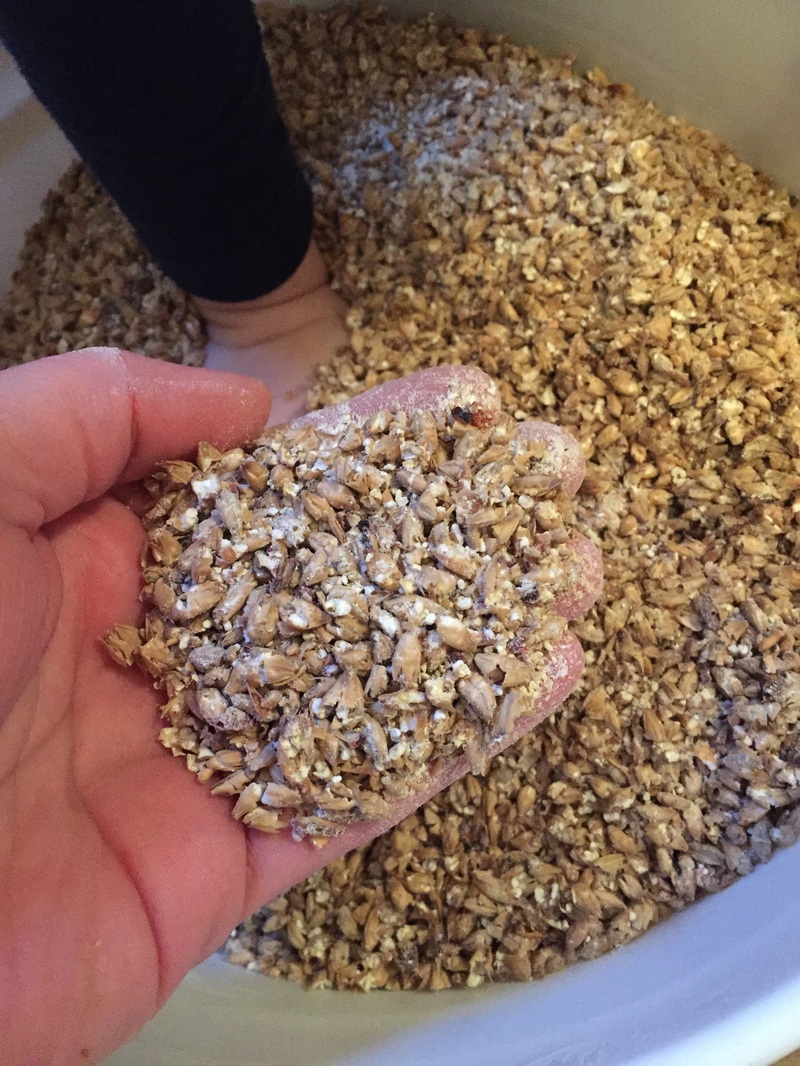
This is roughly what it should look like, nice big chunks of husk and grainy white insides with minimal flour like powder. My little guy was helping test in this shot.
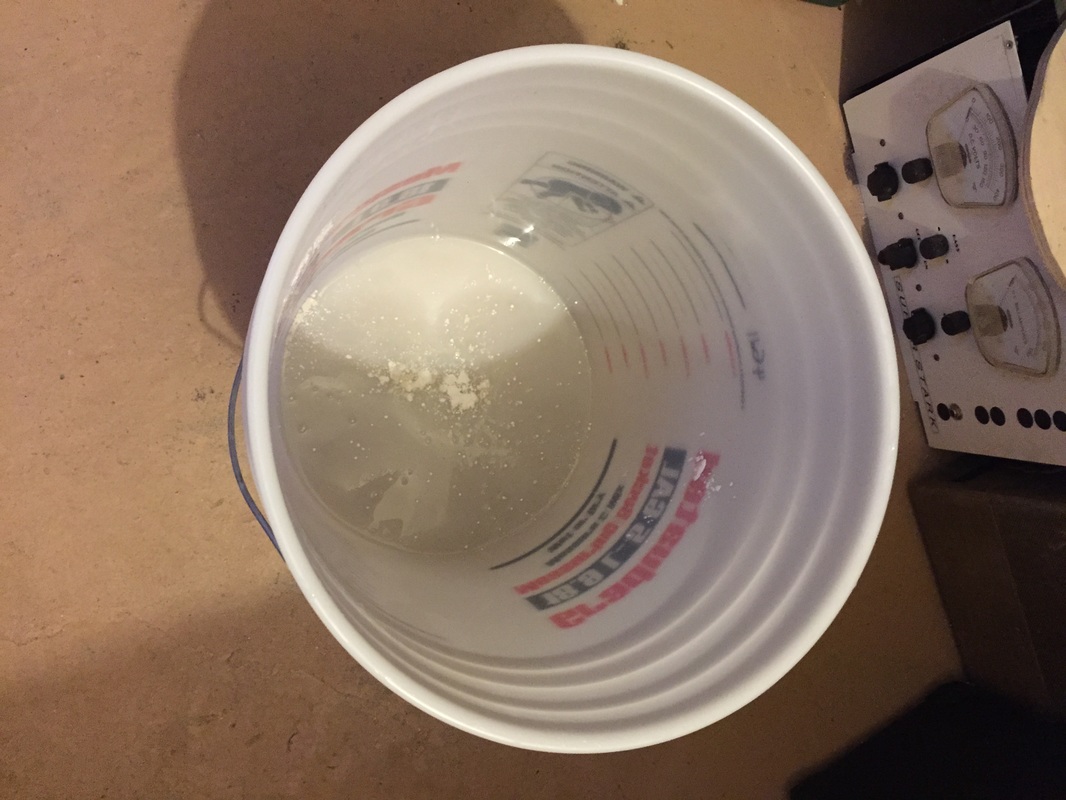
Get your water ready now. I treat my water with salts and campden every time which is explained on the water chemistry page. 8.0G is the perfect volume of mash water for my pot with a standard grain bill.
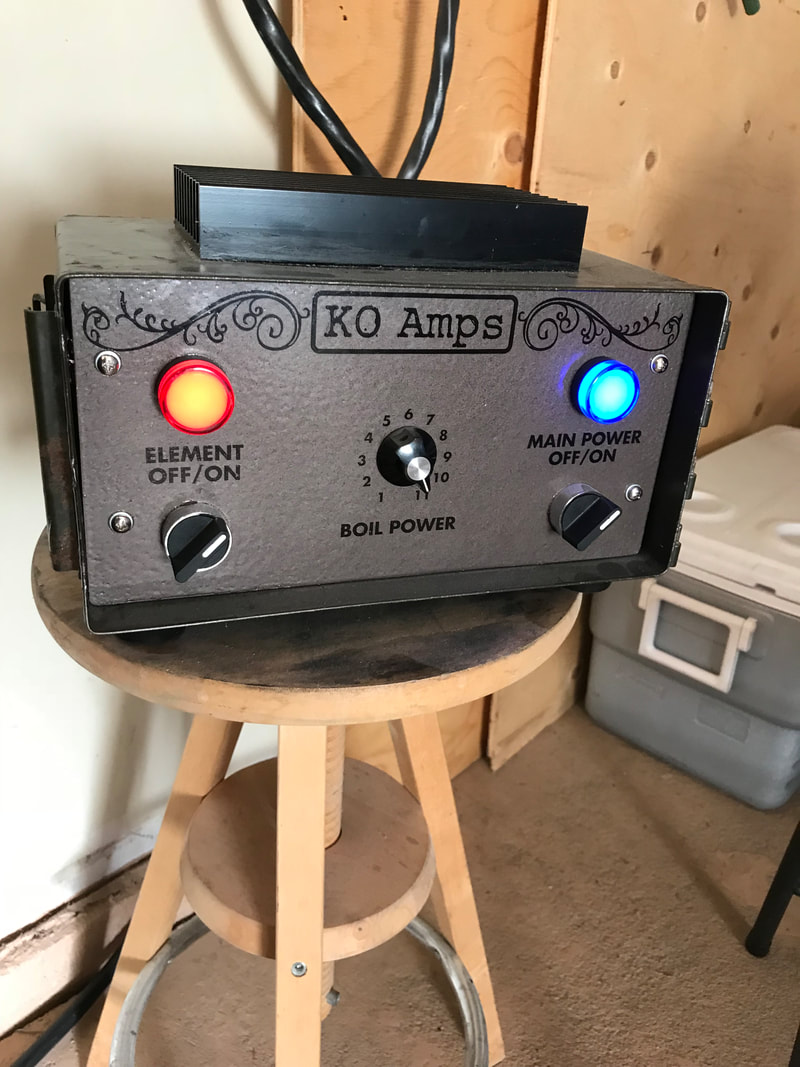
Heat the water now. My pot goes up to 11.
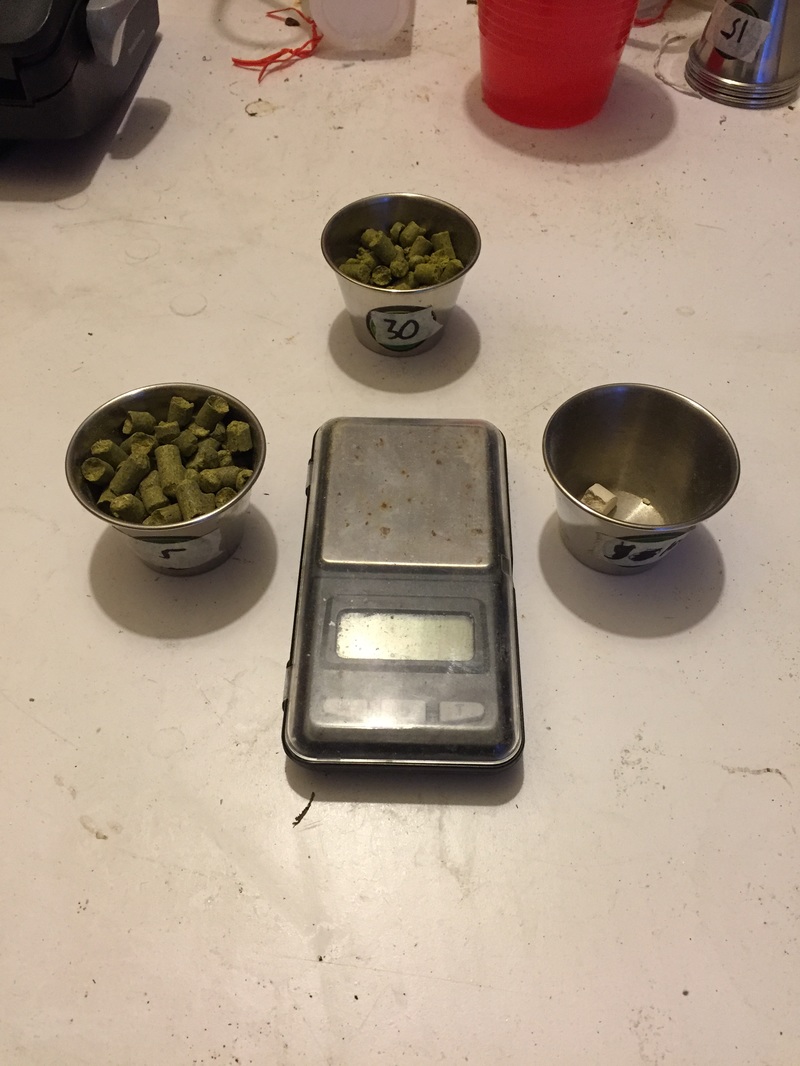
As the mash water is heating I like to get my hops ready. A 0.01g resolution jewelry scale is perfect and those little cups are from the dollar store. Mark your addition times on the cups to avoid confusion. Whirlfloc is in the one on the right.
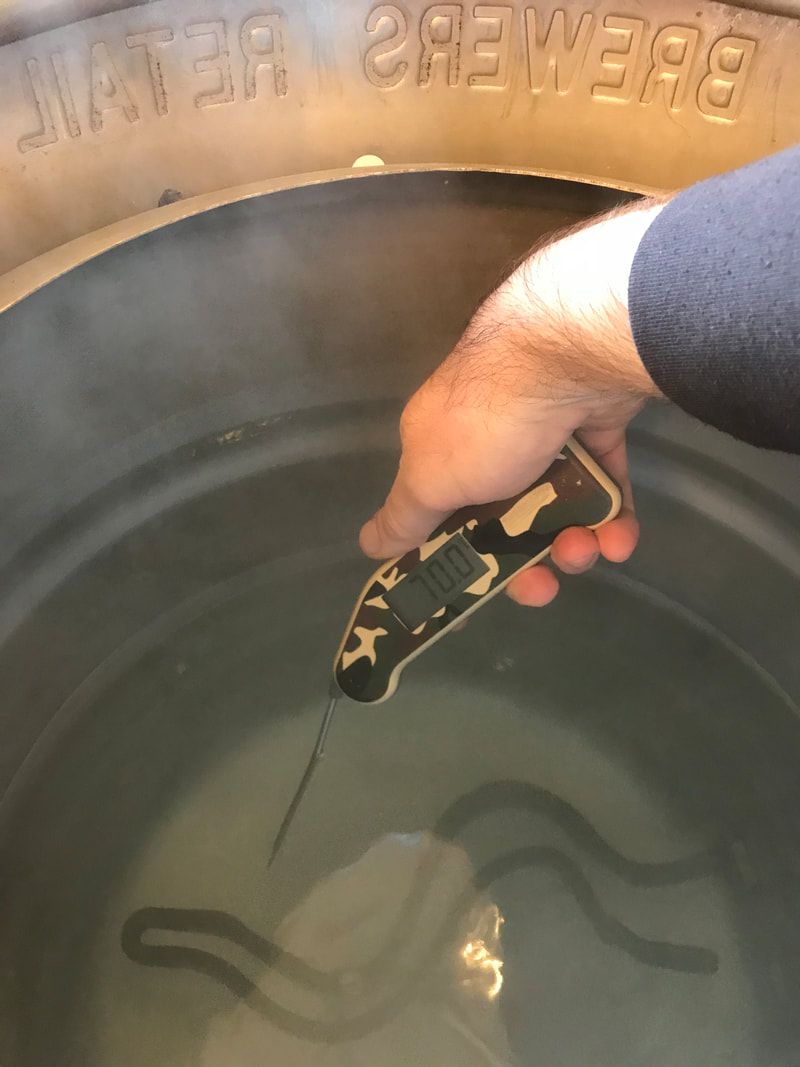
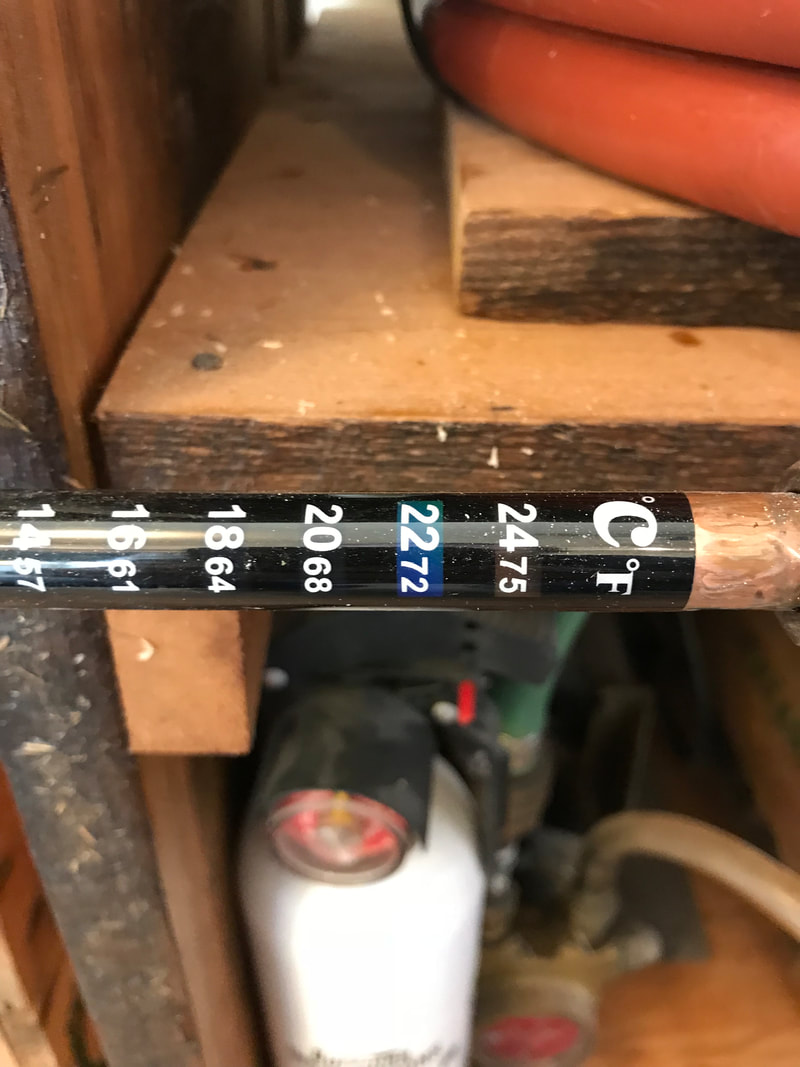
Heat your sparge water approximately 4C higher than you'd like to mash, 70C usually works for my setup but will vary depending on how much grain you've got and how cold it is in the garage.

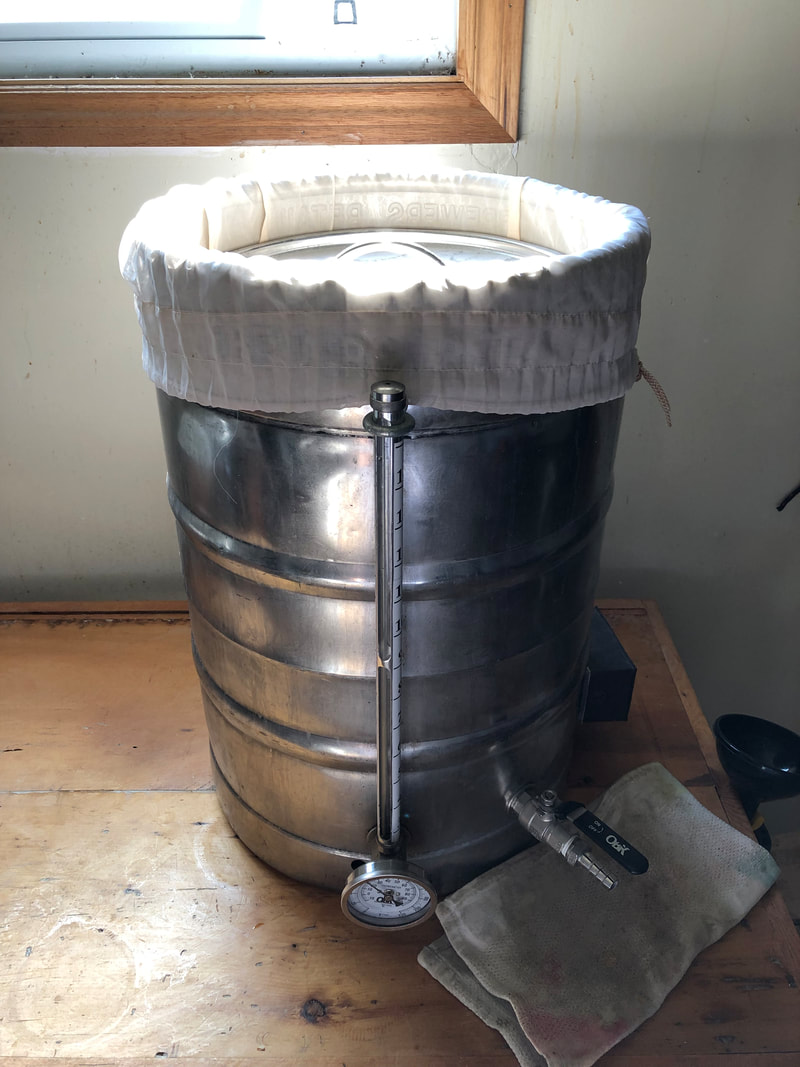
Once you've reached your strike temp, put the bag in, then add your milled grain. I stir constantly as I add making sure to break up balls of grain so it's nice and homogeneous. A stainless steel mash paddle is nice for this. Check your mash in temp after everything is mixed. 66C +/-2C is a good temp to aim for.
Now it's time to hurry up and wait. Throw the lid on and let the enzymes do their thing. I've been doing 60 min mashes lately mostly for the increased efficiency. I did 30 min mashes for years and they work fine if you're in a rush at the cost of about 5% less efficiency than 60 min.
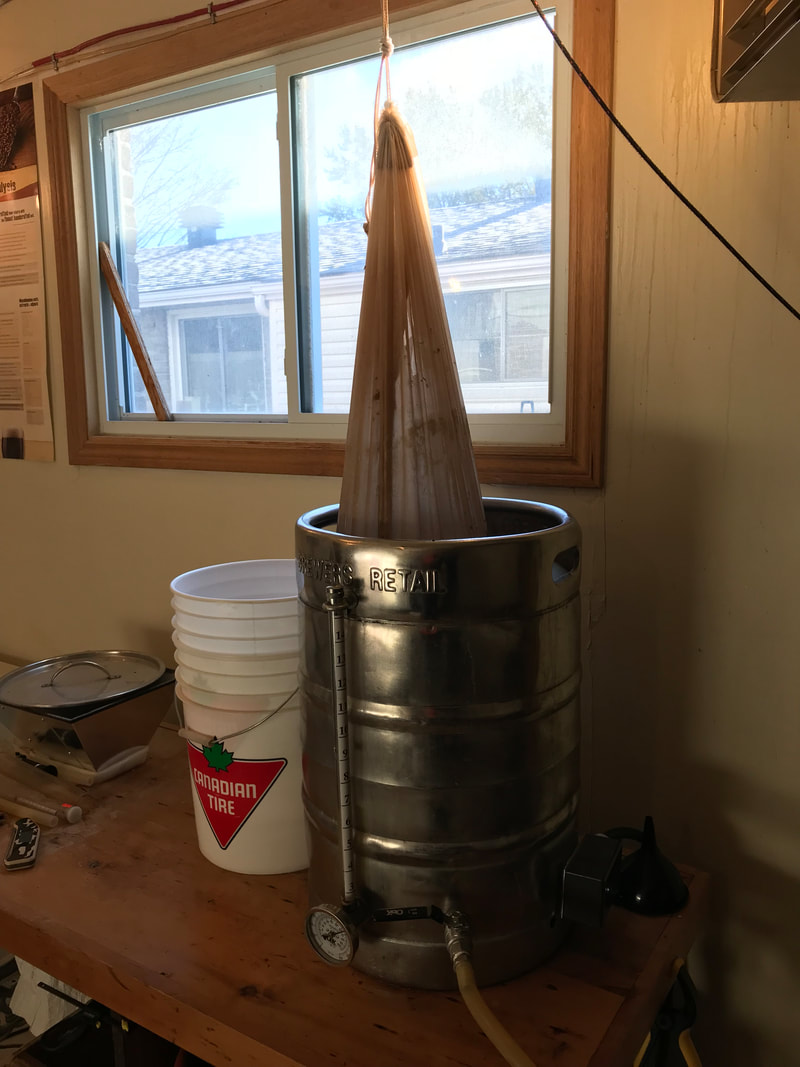
When the mash is done, I pull the bag out using a pulley attached to the ceiling and let it drain for a few minutes.
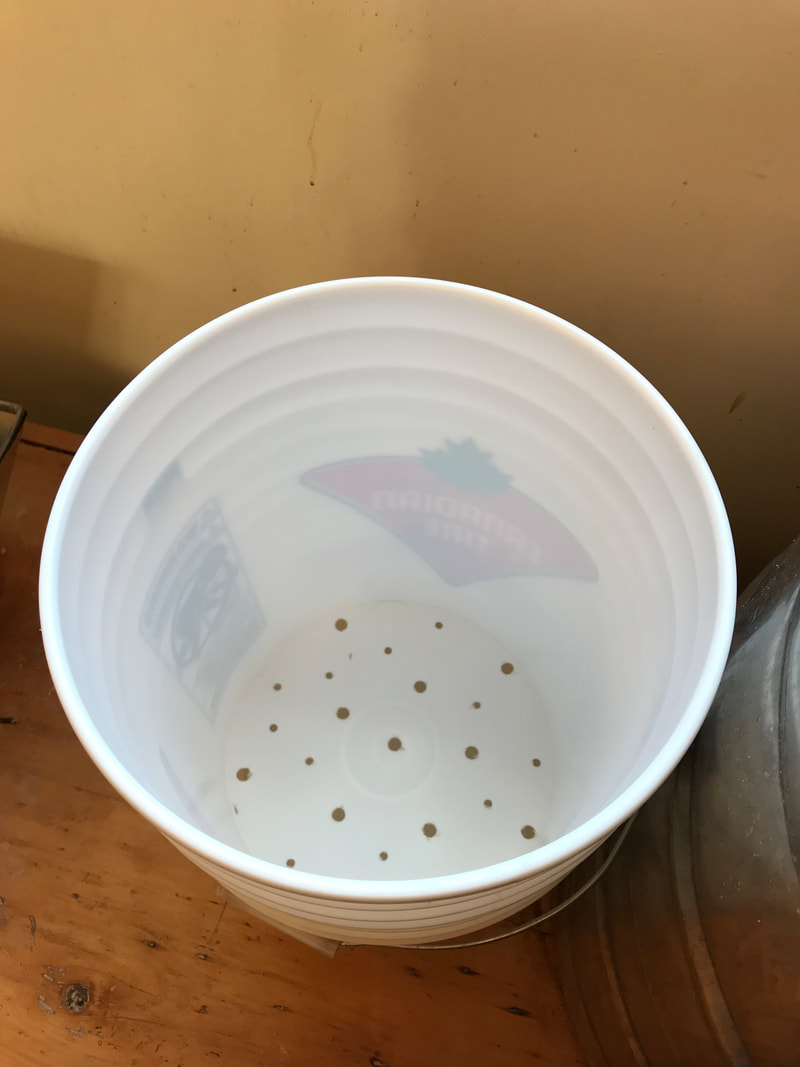
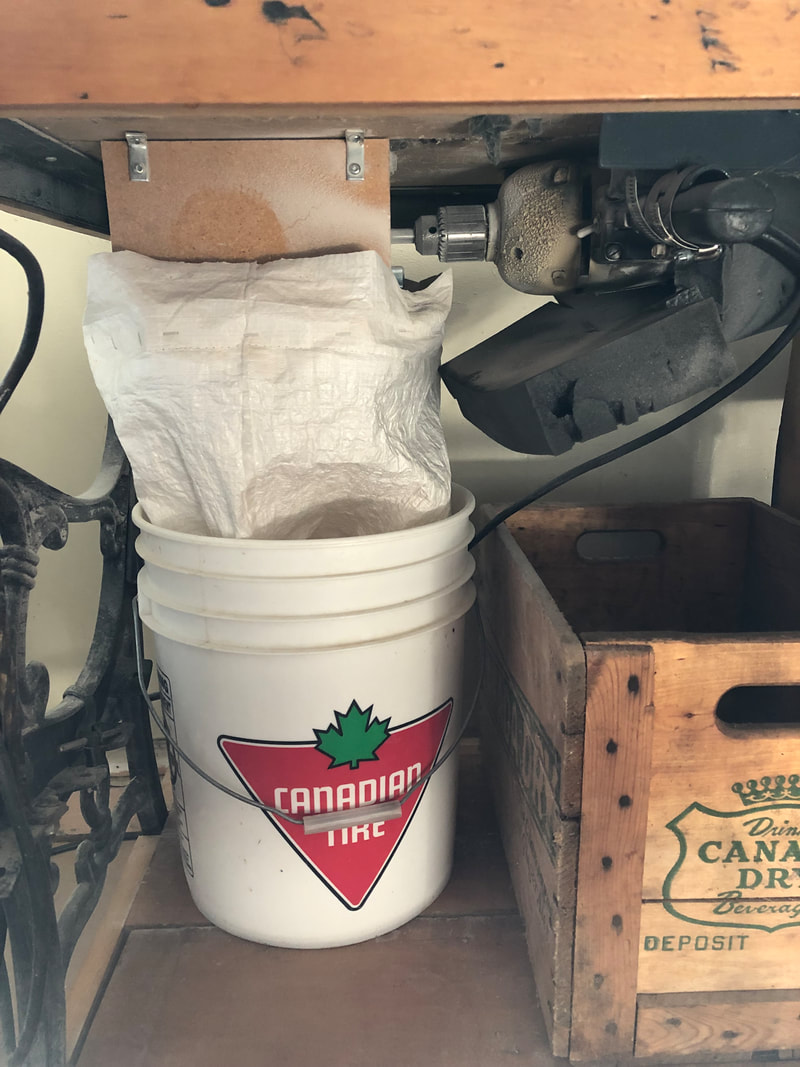
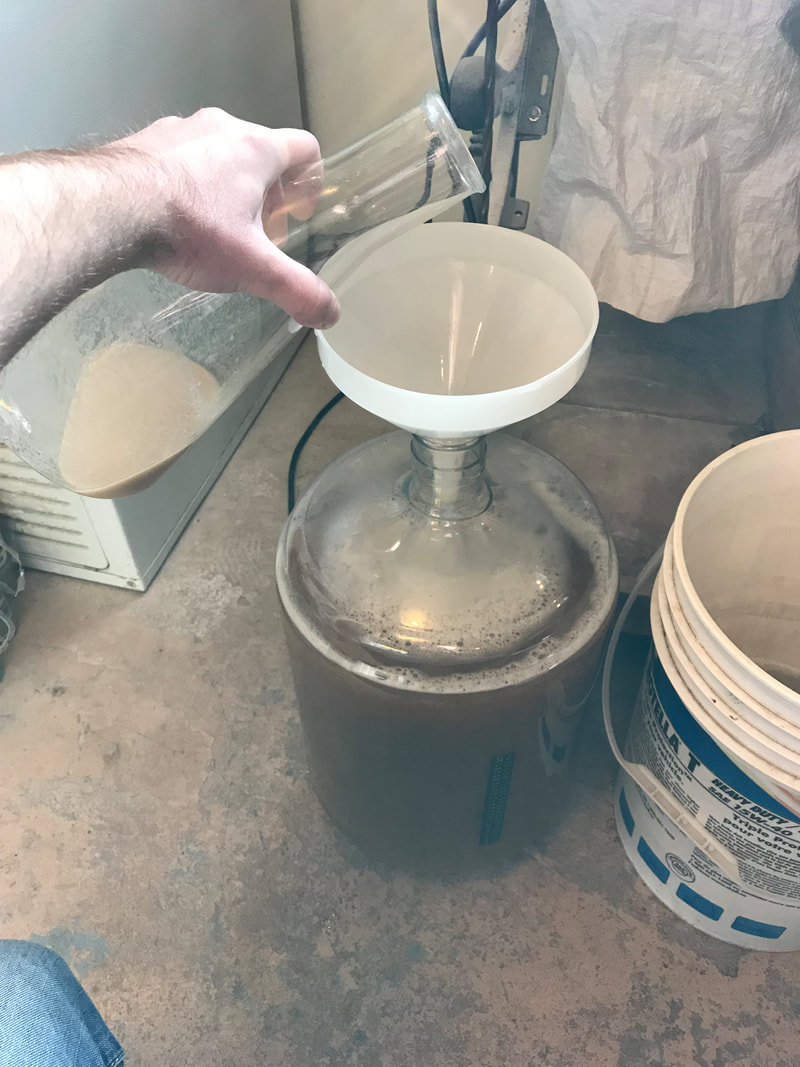
I use the bucket in a bucket system to squeeze the last bit of wort out of the grain (technique stolen from Eric). Drill some holes in the bottom of a 5 gallon bucket and put it in another bucket with no holes.
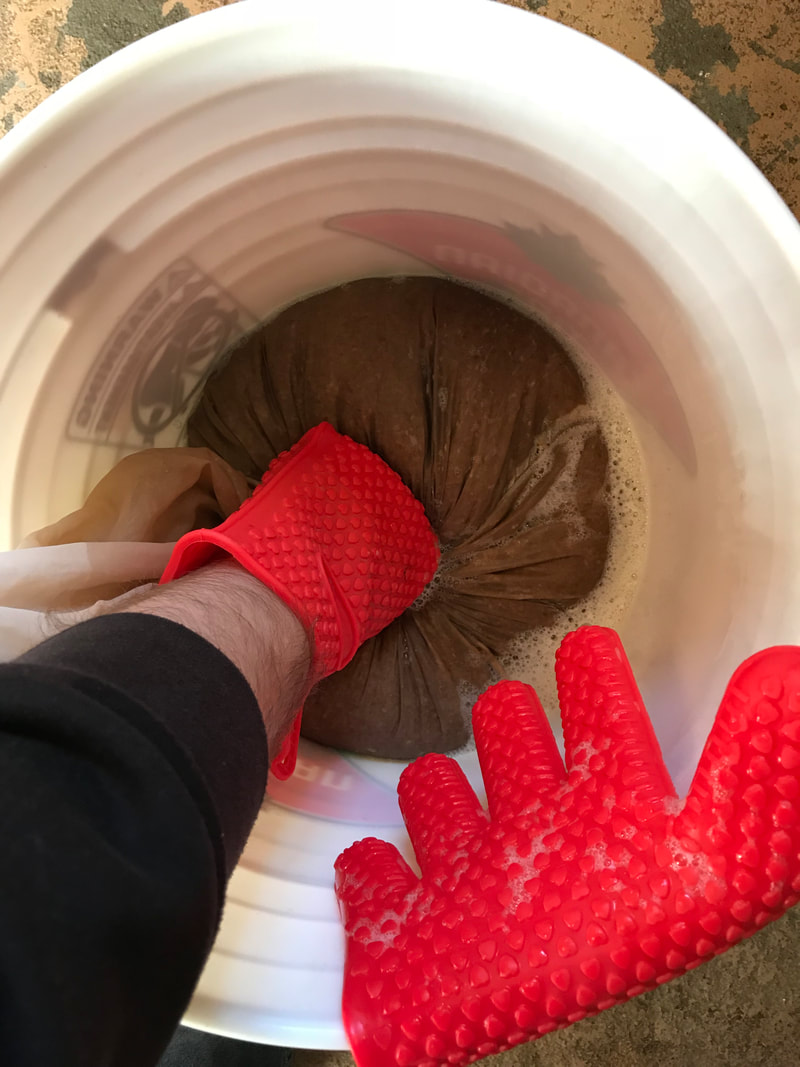
Squeeze all the wort out that you can and it will drain through the holes and collect in the bottom bucket. Silicone oven mitts help prevent burnt hands. Aim to get about 7G of wort total in the pot for the boil.

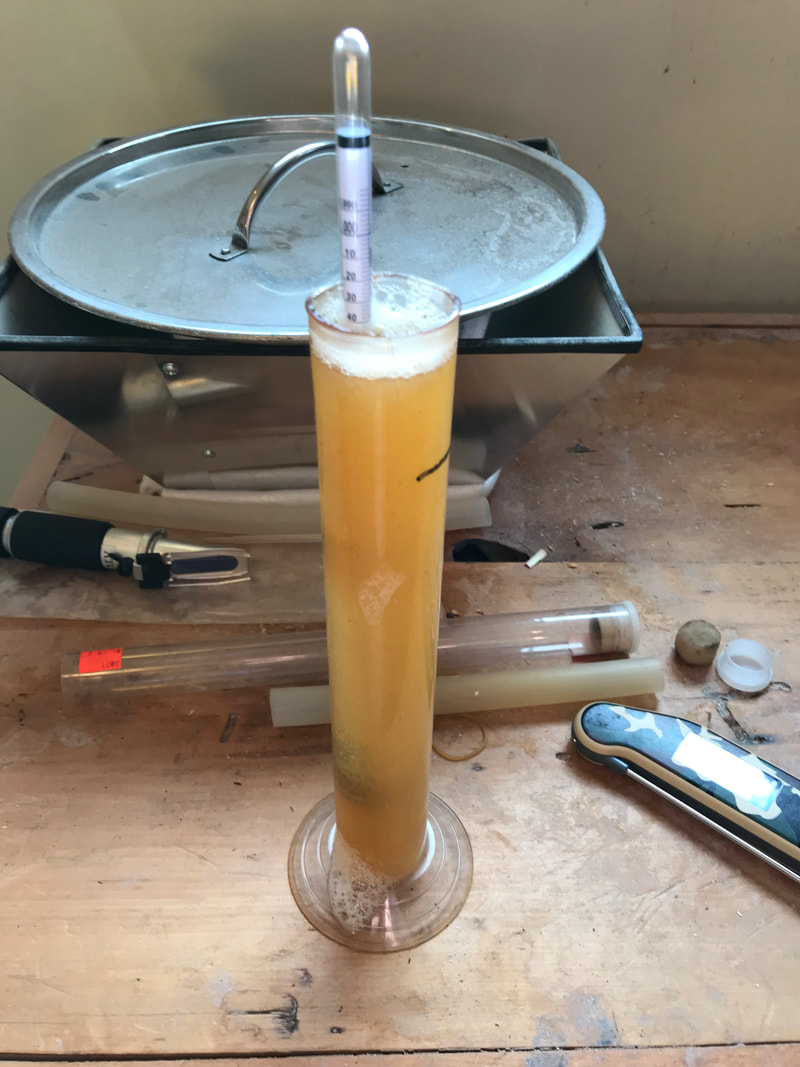
I take a sample for pH now and cool it using scientific freezies before measuring. This is definitely an optional step and not necessary if you don't have a pH meter.
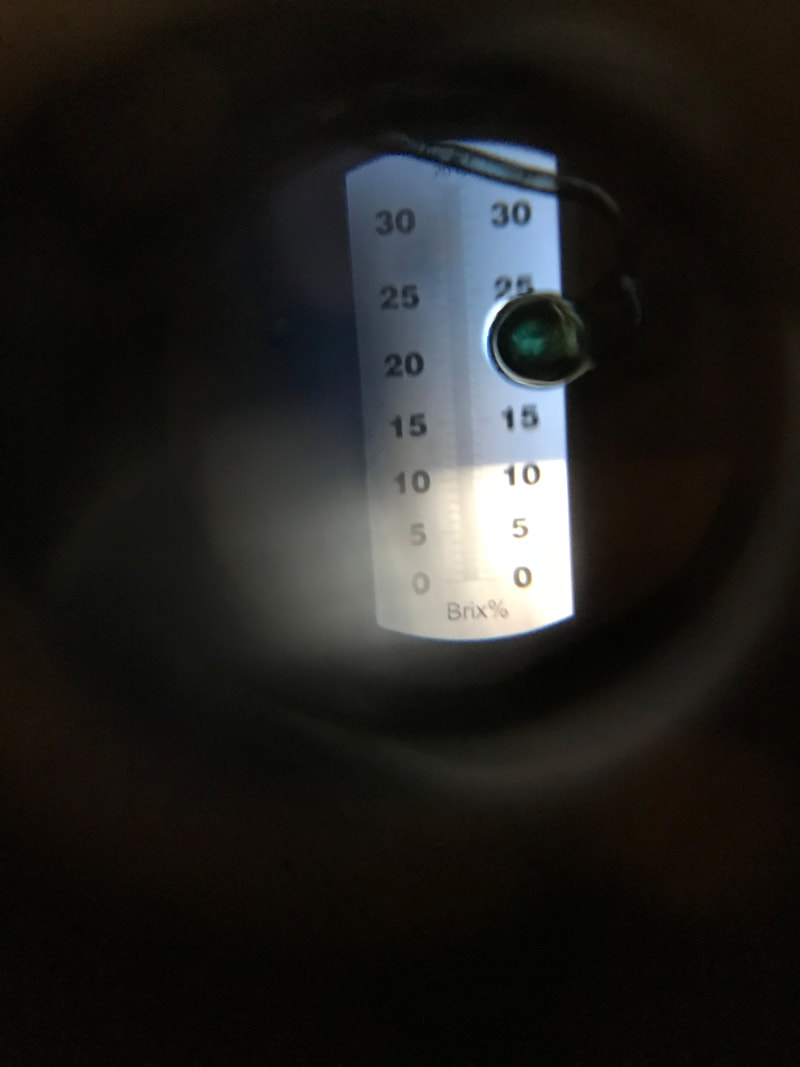
I also check the gravity with a refractometer to see how well the mash went. Got around 11 brix here for 1.044 SG pre boil. Also an optional step.
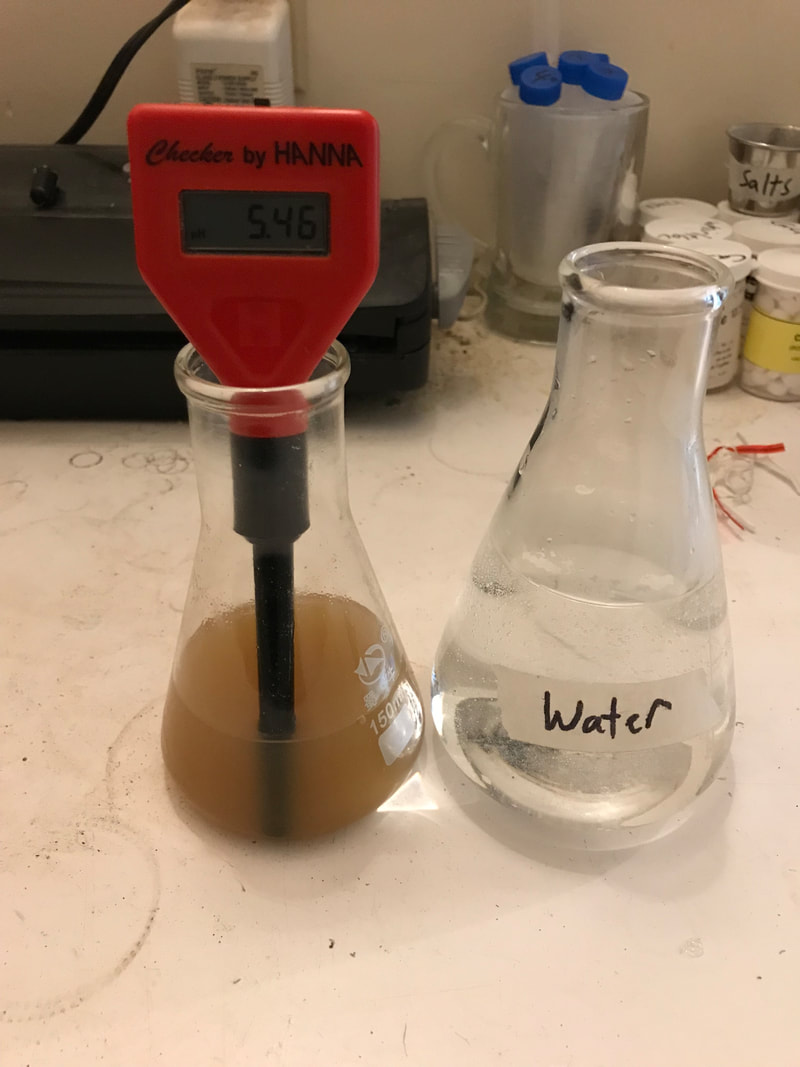
Ideal pH is 5.3-5.5 at room temp. With North Bay tap water you need to add up to 0.25lb of acidulated malt for the yellowest beers, nothing for browns, and up to 1.5g of baking soda for really dark stouts. I roughly adjust anywhere in between for everything else based on these limits.
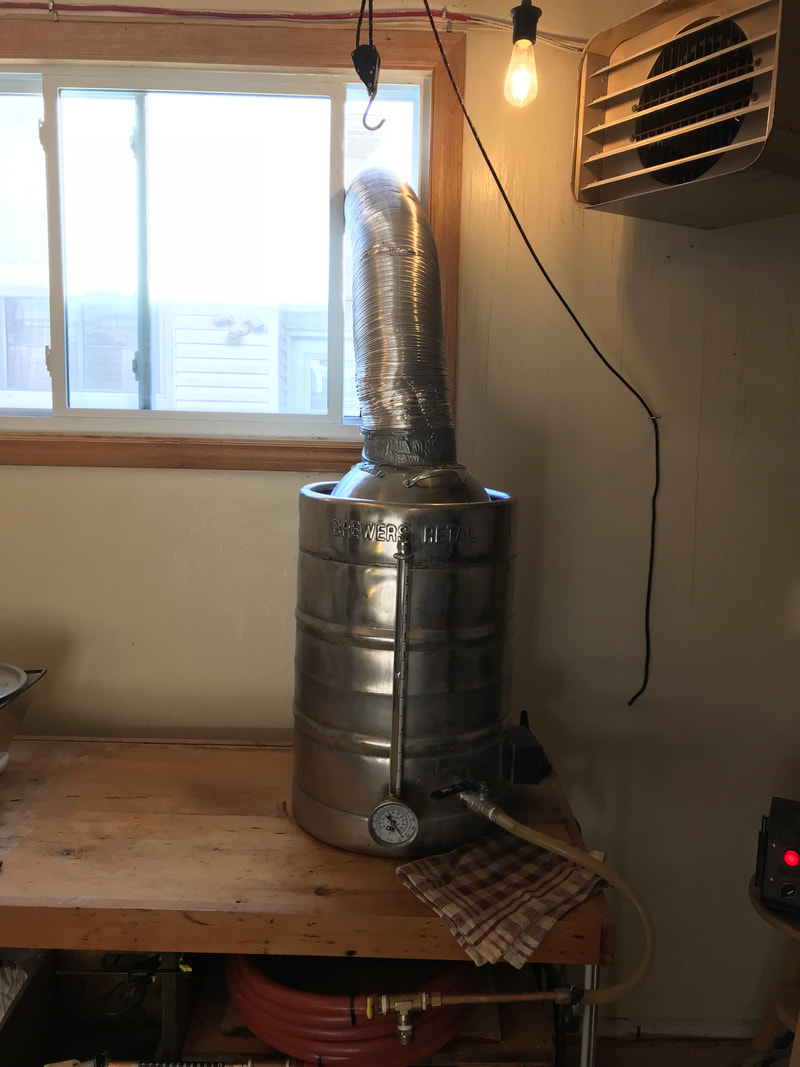
Once the wort is boiling, turn down the controller to a manageable boil. A vent to the outside is necessary due to the large amount of steam produced. I use a stainless steel salad bowl attached to a length of 6" diameter aluminum ducting pointed out the window in my garage. Boil overs used to be a problem but are not a concern anymore with this massively over sized pot.
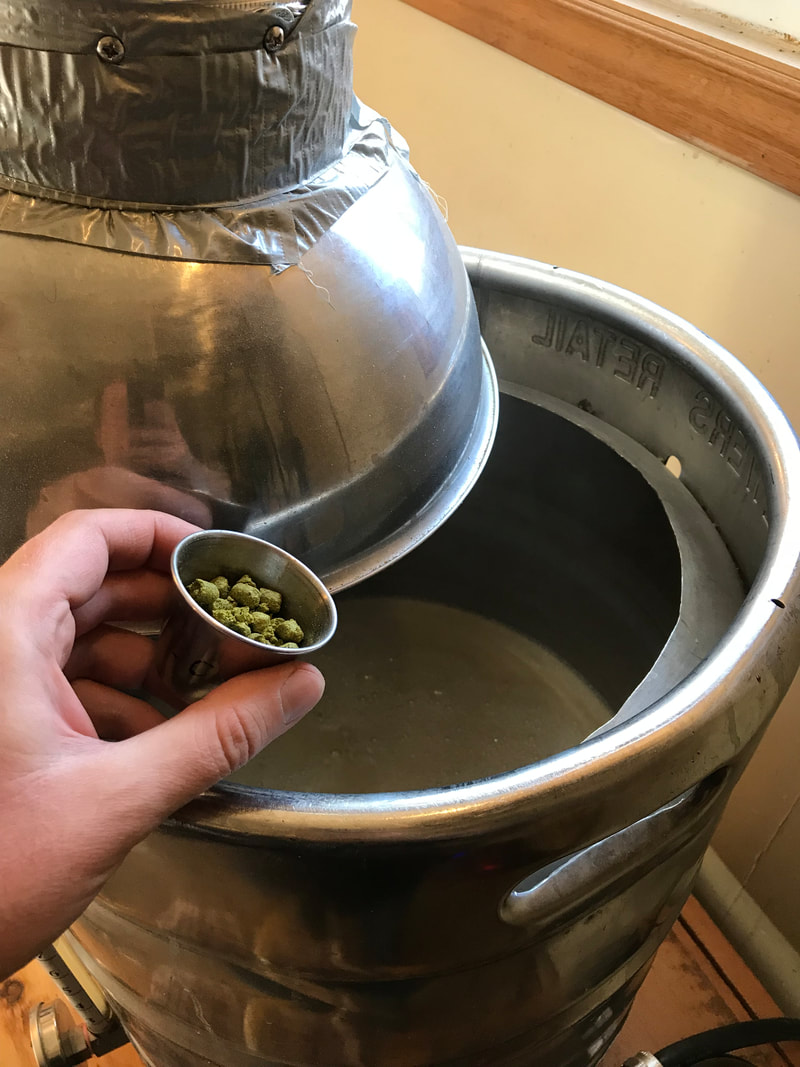
Add your bittering hops and start your boil timer. 60 minute boils are common, but I do 30 minute boils to save time at the cost of a little more hops to get the same bitterness. Add the rest of your hops if you have any in the recipe, at the times specified as the boil proceeds. I toss whirlfloc in at roughly 10 min left every batch to help with clarity.
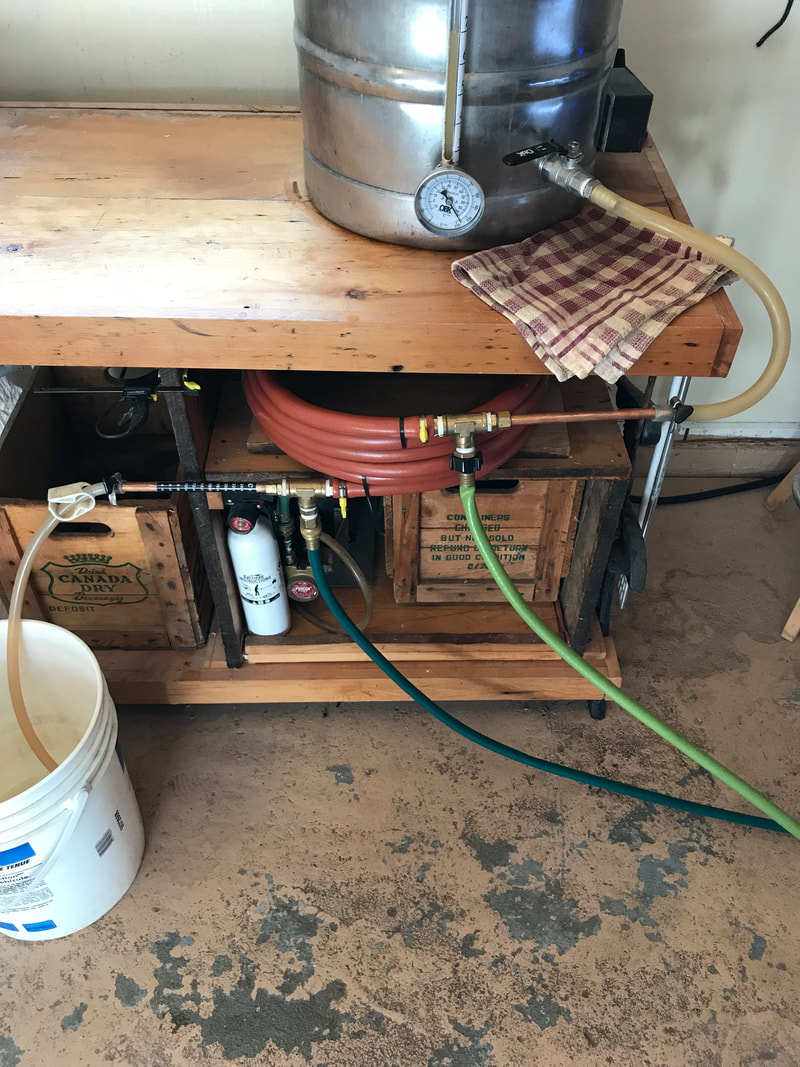
While the boil is going, get your chiller ready and hooked up to the cold water tap. When it's warm out I use the garden tap and run the outlet to the ditch. In the winter it's up and down the stairs to the laundry sink.
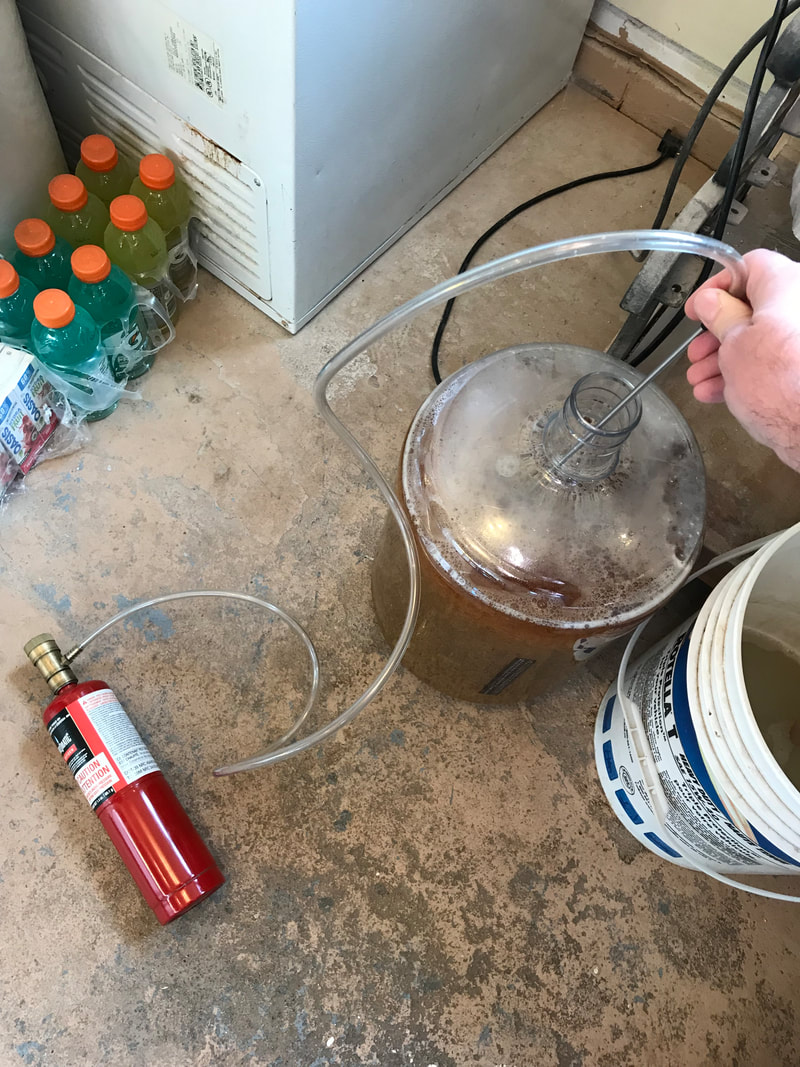
I use a counterflow chiller these days which is much more efficient than an immersion chiller. Usually takes 8-10 min to chill from boiling to pitching temp. I use gravity flow from the pot, through the chiller to the carboy. Flush with star san, then hot wort before turning on the cooling water to make sure the inside is sanitized.

Run into a nice clean and sanitized carboy. I restrict flow a bit with an adjustable clamp on the output hose (not pictured) if it's coming out too hot. There's usually about 6.5G left in the pot after the boil and I get 5.5G in the carboy with the last 1G being dead volume in the pot with all the crud/hops.
Remember to take a gravity sample now as well to get your starting gravity.
Oxygenate with a sanitized wand for about a minute.
Pull your yeast out of the fridge now. Decant the supernatant, swirl up the sediment and pitch your bugs. A 1-1.5L starter is good for ales, I use a full gallon (4L) starter for lagers. Hydrate dry yeast in ~100ml of warm (~30C) pre boiled water for 15 min before pitching.
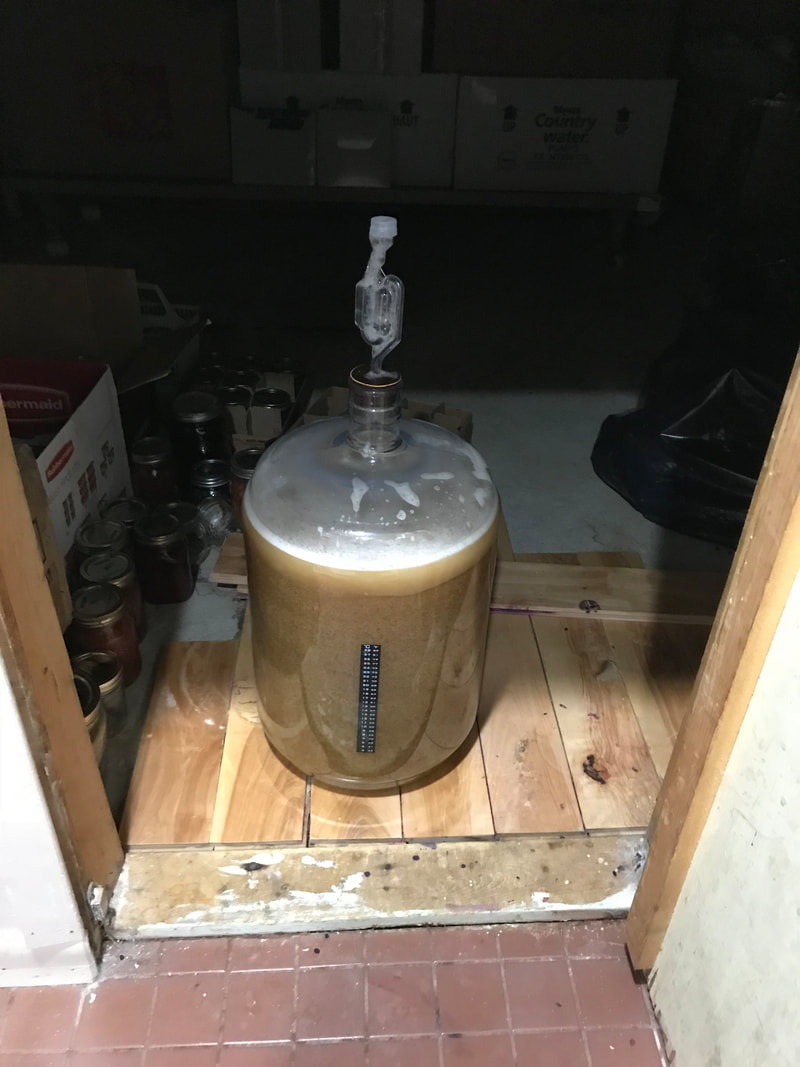
Put it somewhere dark and cool and let it do its thing for 10-14 days before kegging. Lagers go in the fermentation chamber to chill first before they get their o2 and yeast. Try and keep it under 20C for best results.
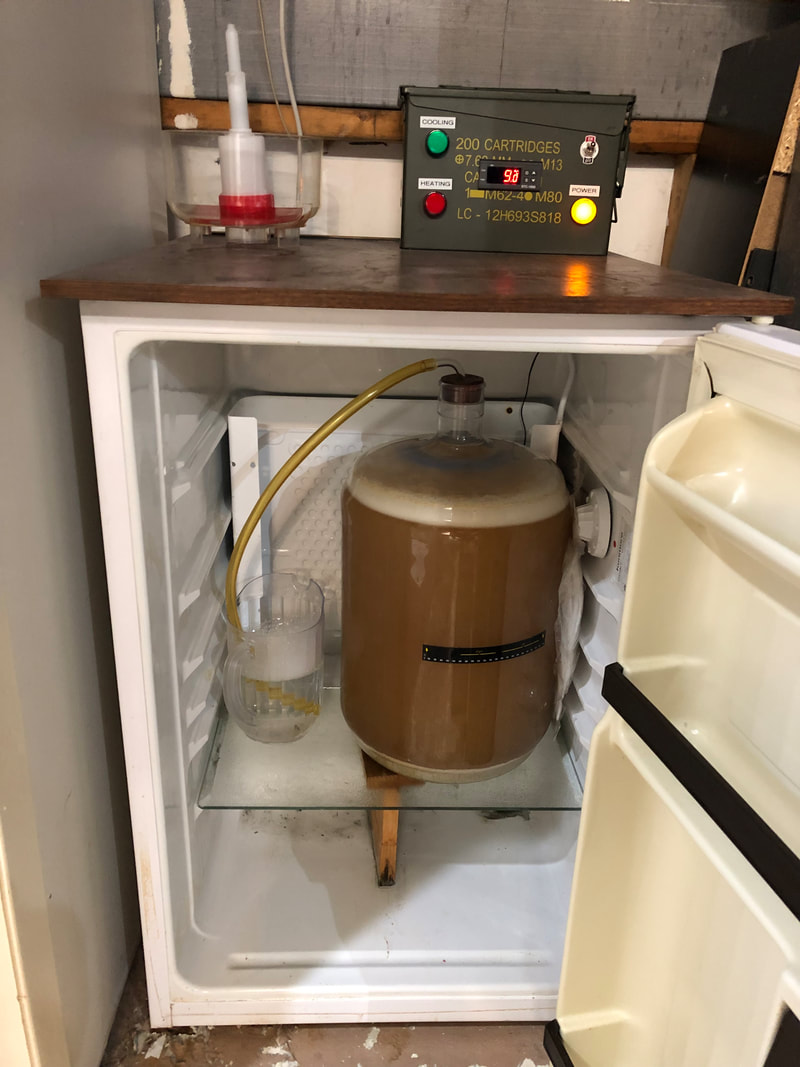
This is the lager fridge. I use an STC-1000 controller to set the temperature. I like to ferment lagers at around 10-11C. Oxygenate and pitch at fermentation temp or lower. Leave for roughly 4-7 days until fermentation has visibly slowed, then let it free rise to room temp for 7-13 days to let it clean up after itself. Keg after it passes the diacetyl test and lager it in the keg fridge until it's clear and delicious.

I store my chiller wet with an iodine solution. I make it up according to the directions for no rinse sanitation and fill the chiller after flushing it backwards full blast in the laundry sink.
This is how I do it these days. Much more simplified than I used to do it.
