Yeast Culturing
This is the second most asked question I get so here's how I do it. These instructions are for one 5 gallon batch of normal gravity beer (1.030-1.070).
This is a newly revised strategy based on some info from Imperial Yeast Labs. Keep your smack pack, White Labs pouch or previously cultured jar of yeast in the fridge until it's time to pitch. The minor temperature shock of pouring cold bugs into room temp starter media is less harmful then letting them sit in media with no nutrients while they warm up. Cold pitching is the new religion.
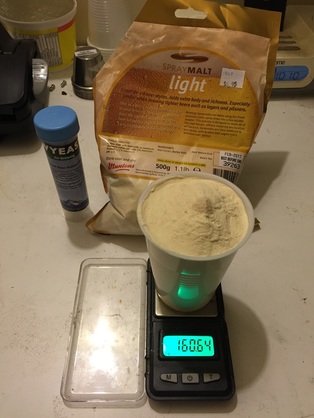
DME, I like the light stuff but it doesn't matter. 10g per 100mL, so you can see here that I'm making a 1600mL starter with about 160g of DME. I always put a pinch of yeast nutrient for funsies, about 1/8 tsp, you can kind of see it on top of the DME in the cup. You can do without it. Media ends up being roughly 1.040. Anything from 1.3L to a full 2.0L total will be fine, you'll be saving 500-600mL for later and pitching the rest.
Add the DME to the proper amount of water and give a little stir, it'll all dissolve when it starts boiling. Use a pot that's at least double the volume, it gets pretty angry when it starts boiling. A drop of ferm cap now will work wonders for controlling foam.
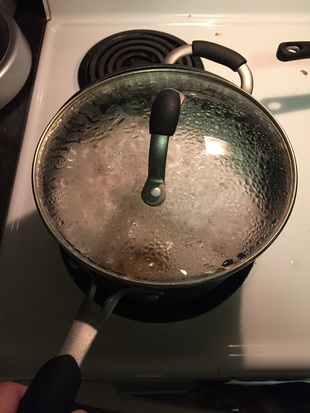
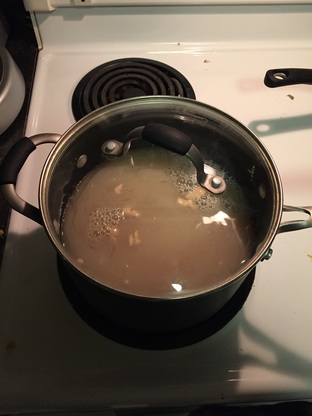
Bring to a boil with the lid just hanging off. As soon as it starts to bubble, turn the heat off and get ready to tilt the pot. It will boil over super easy and make a giant mess. If you alternate between setting it flat and tilting it on an edge you can keep a gentle boil going without a mess. Boil it for about a minute or two with the lid on to sanitize. That drop of ferm cap you added will really help right now.
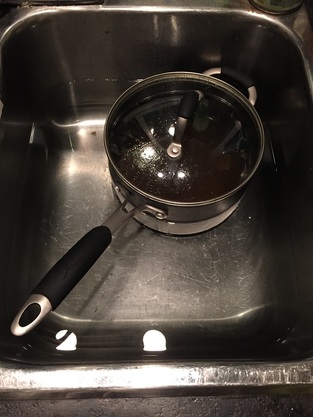
When the boil is done put in the sink with cold water about half way up the pot to cool it down. Usually takes 20-30 min. Keep the lid on to keep the nasties out. Swirling the water in the sink every now and then will speed things up a bit.
Get your flask and stir bar ready. Can't recommend a good 2L Erlenmeyer flask enough, works so well. You can get by with a dollar store glass spaghetti jar though if you're on a budget. I use a 1 1/2" bar, but anything from 1-2" will work fine. Sanitize everything with star san including the tin foil over the top of the flask. Use a magnet on the outside of the flask to hold the bar when pouring.
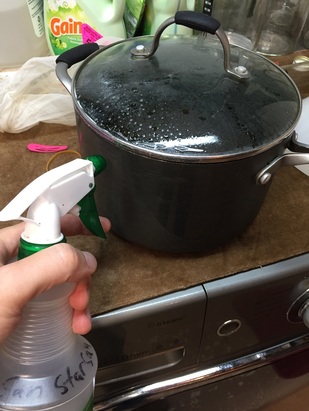
Get your media out of the sink after it's cooled to room temp and spray the side you're pouring from with star san. It'll run down the side and might get contaminated when you pour.
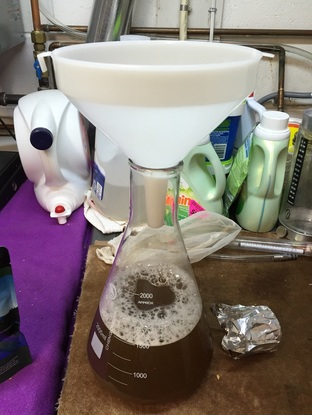
Sanitize a funnel with star san and use it to pour all the media into the flask. Pour your bugs in now too making sure to mix the pouch or jar thoroughly so you get everything out. Sanitize all openings as well and scissors too if you're cutting open a smack pack. Keep it clean.
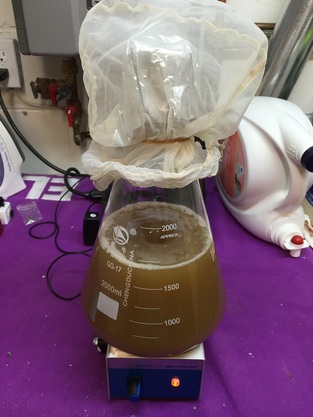
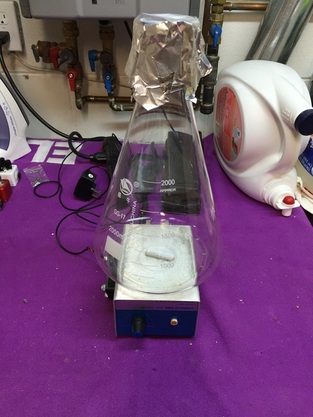
Put the tin foil back on loosely so the culture gets air which is super important but keeps any dust or debris from falling in. I've also put a paint strainer bag over the top to discourage fruit flies because I'm a cautious cat. Throw it on the stir plate and get a good tornado (yeastnado?) going. Turn it up so it goes pretty fast but won't throw the stir bar (more of a problem with bigger stir bars).
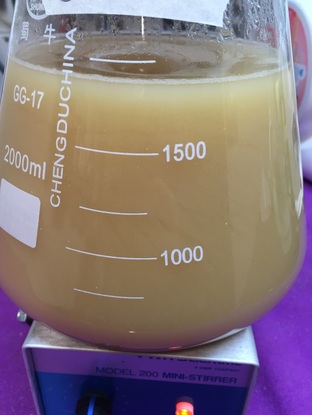
Leave it for 24-36 hours and it should look like the picture, nice and milky or like chunky cottage cheese if it's a highly floculant British strain. Should smell fantastic and sweet, not like socks or sour milk. May smell like sulfur if it's WLP023 or a lager strain, which is OK. Number one rule of cell culture is follow your nose (ie. Tucan Sam).

Once it's done fermenting, get a mason jar sanitized and ready (I like 600mL Classico spaghetti jars). I turn it upside down after spraying to drain and make sure to pour off excess sanitizer. The second container is a glass spaghetti jar from the dollar store I used to use as my culture flask, it fits in the fridge better than my Erlenmeyer so I use it to cold crash the pitch. It is ok to pitch the yeast without crashing. Taste the media you pour off sometime though and you'll see why I cold crash and decant.
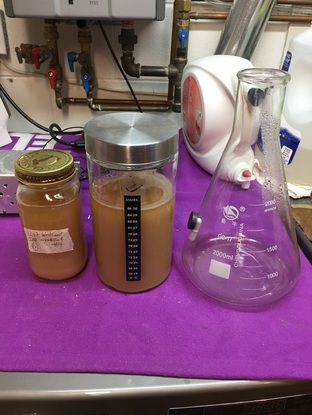
After sanitizing the mouth of the Erlenmeyer, pull it off the stir plate while still spinning and fill your mason jar immediately (really tricky with chunky yeast). This is what you will save for next time and continually culture. The rest goes in your batch of beer. Should be roughly 100 billion cells in the mason jar, and about 200 billion for the pitch according to online calculators. You can see the magnet holding the stir bar that I use when pouring.
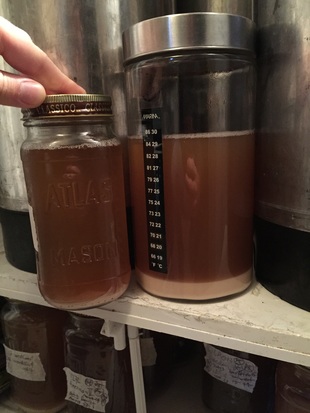
Put both in the fridge to cold crash them and the yeast will settle to the bottom like in the pic. Leave the pitch in the fridge until you're ready to brew (up to about 1 week), and on brew day pull pour off most of the liquid on top and leave it in the fridge until ready to pitch. Swirl it up and dump when it's time to pitch. The Mason jar can stay in the fridge for up to 4-6 months and be re cultured over and over again.
This is the ghetto version of how you would culture yeast cells in a laboratory and is slightly preferable to harvesting sloppy slurry (which works well too but don't ever wash the yeast with water) since the cells are only ever exposed to plain non hopped media of the same strength so there's very little trub and other junk and the yeast aren't stressed much. It allows you to continually culture for much longer as well because even though the cells mutate, you won't notice for many generations. I cultured the first liquid yeast I ever bought (1272 American II) for over 2 years, used it 10-15 times and it still made great beer. I do retire some after they start tasting off or I get bored of them, so many strains to experiment with, so little time.
Make sure you label everything well so you don't get your strains mixed up or forget how old they are. The passage number is important too just so you know how old the yeast is overall. Pretty soon you'll have a library of strains like I do and just continually cycle through them as they age and it'll only cost $2-3 for the DME to re-culture them for a batch.
The yeast amounts are a guess until I get a microscope, but I've been doing this for over five years now and seems to work really well. Was aiming for the 0.75 million cells per mL per degree plato standard that everyone seems to follow.
